Hey ! This craft is super easy, lots of fun to make, uses household items and it’s eco-friendly !
To make this craft, you will need :
– cereal box
– scissors
– glue (liquid or in a stick form, both work)
– decorating materials (ex: pretty paper, ribbons, glitter …)
– picture to put in frame
1. Open both ends of your cereal box, so that if you look through one end of the box you’ll see through the other.
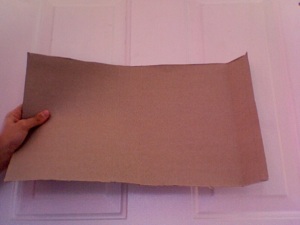
2. Cut one of the sides of the box, so that when you spread the box you’ll get a long rectangle shape.
3. Cut your rectangle in half so that you’ll end up with two skinny rectangles. You don’t need both so put one aside. You’ll notice that there are two smaller rectangles in your big rectangle. On the the top smaller rectangle draw the shape of your picture and then cut it out.
4. Decorate your picture frame any way you like…
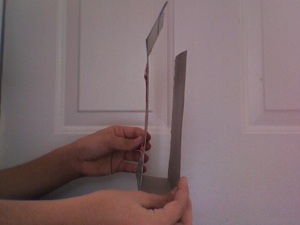
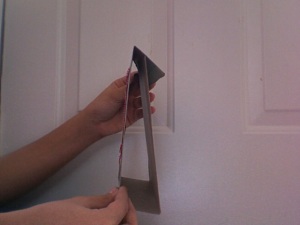
5. Next, in these pictures I’ll show you how to assemble your frame :
– Hold your frame like I did in the first picture !
– Then bend the top flap down on the back of your frame and glue !
– To attach your picture, put some tape on the top of the picture then put the tape on top of the rectangle that you cut out.
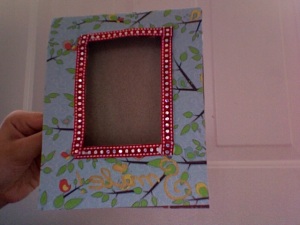
HERE IS HOW MINE LOOKED LIKE :
Hope you enjoyed this craft !
By : Purple Pansy


Wow ! Thanks for all of the wonderful crafts, I really enjoyed all of them !
Emma
Thanks !
-Purple Pansy
Simple and easy craft! Great job with it!!
I’m so glad you’ve posted all these crafts – keep it up!
😉
P.S. I used neon colours for the ninja star; the result was amazing – never
thought you could do that by hand!! And I even tried putting a picture in
the circle in the middle, which was a success and looked really nice!
Thanks ! Using neon colours for the ninja star is such a great idea !
-Purple Pansy
Well, thanks a lot for the amazing ideas!
These crafts give me many more ideas of gifts
and quick presents! Great job!!
Thanks Blue Iris !
heeey purple pansy!
I tried ur orgami stuff and they’re AWESOME!!!!!
I luv this website sooooo much!!!!
Ur soooo cool!!!!!!
Thanks for the very nice comment Harleen !